GUÍA DE COMPRA
Kamado thermometers and probes: which to buy and how to calibrate
Instant-read, wired or wireless: what each type actually measures, why the lid thermometer lies, where the probe goes in each cut and how to check at home that yours tells the truth.
Quick answer
A kamado needs two instruments: an instant-read spike thermometer, rated at ±0.5 °C, for short cuts, and a leave-in probe, wired or wireless, for long cooks. The thermometer on the lid reads the air up in the dome and only shows you the trend. Calibrate both in crushed ice and in boiling water.
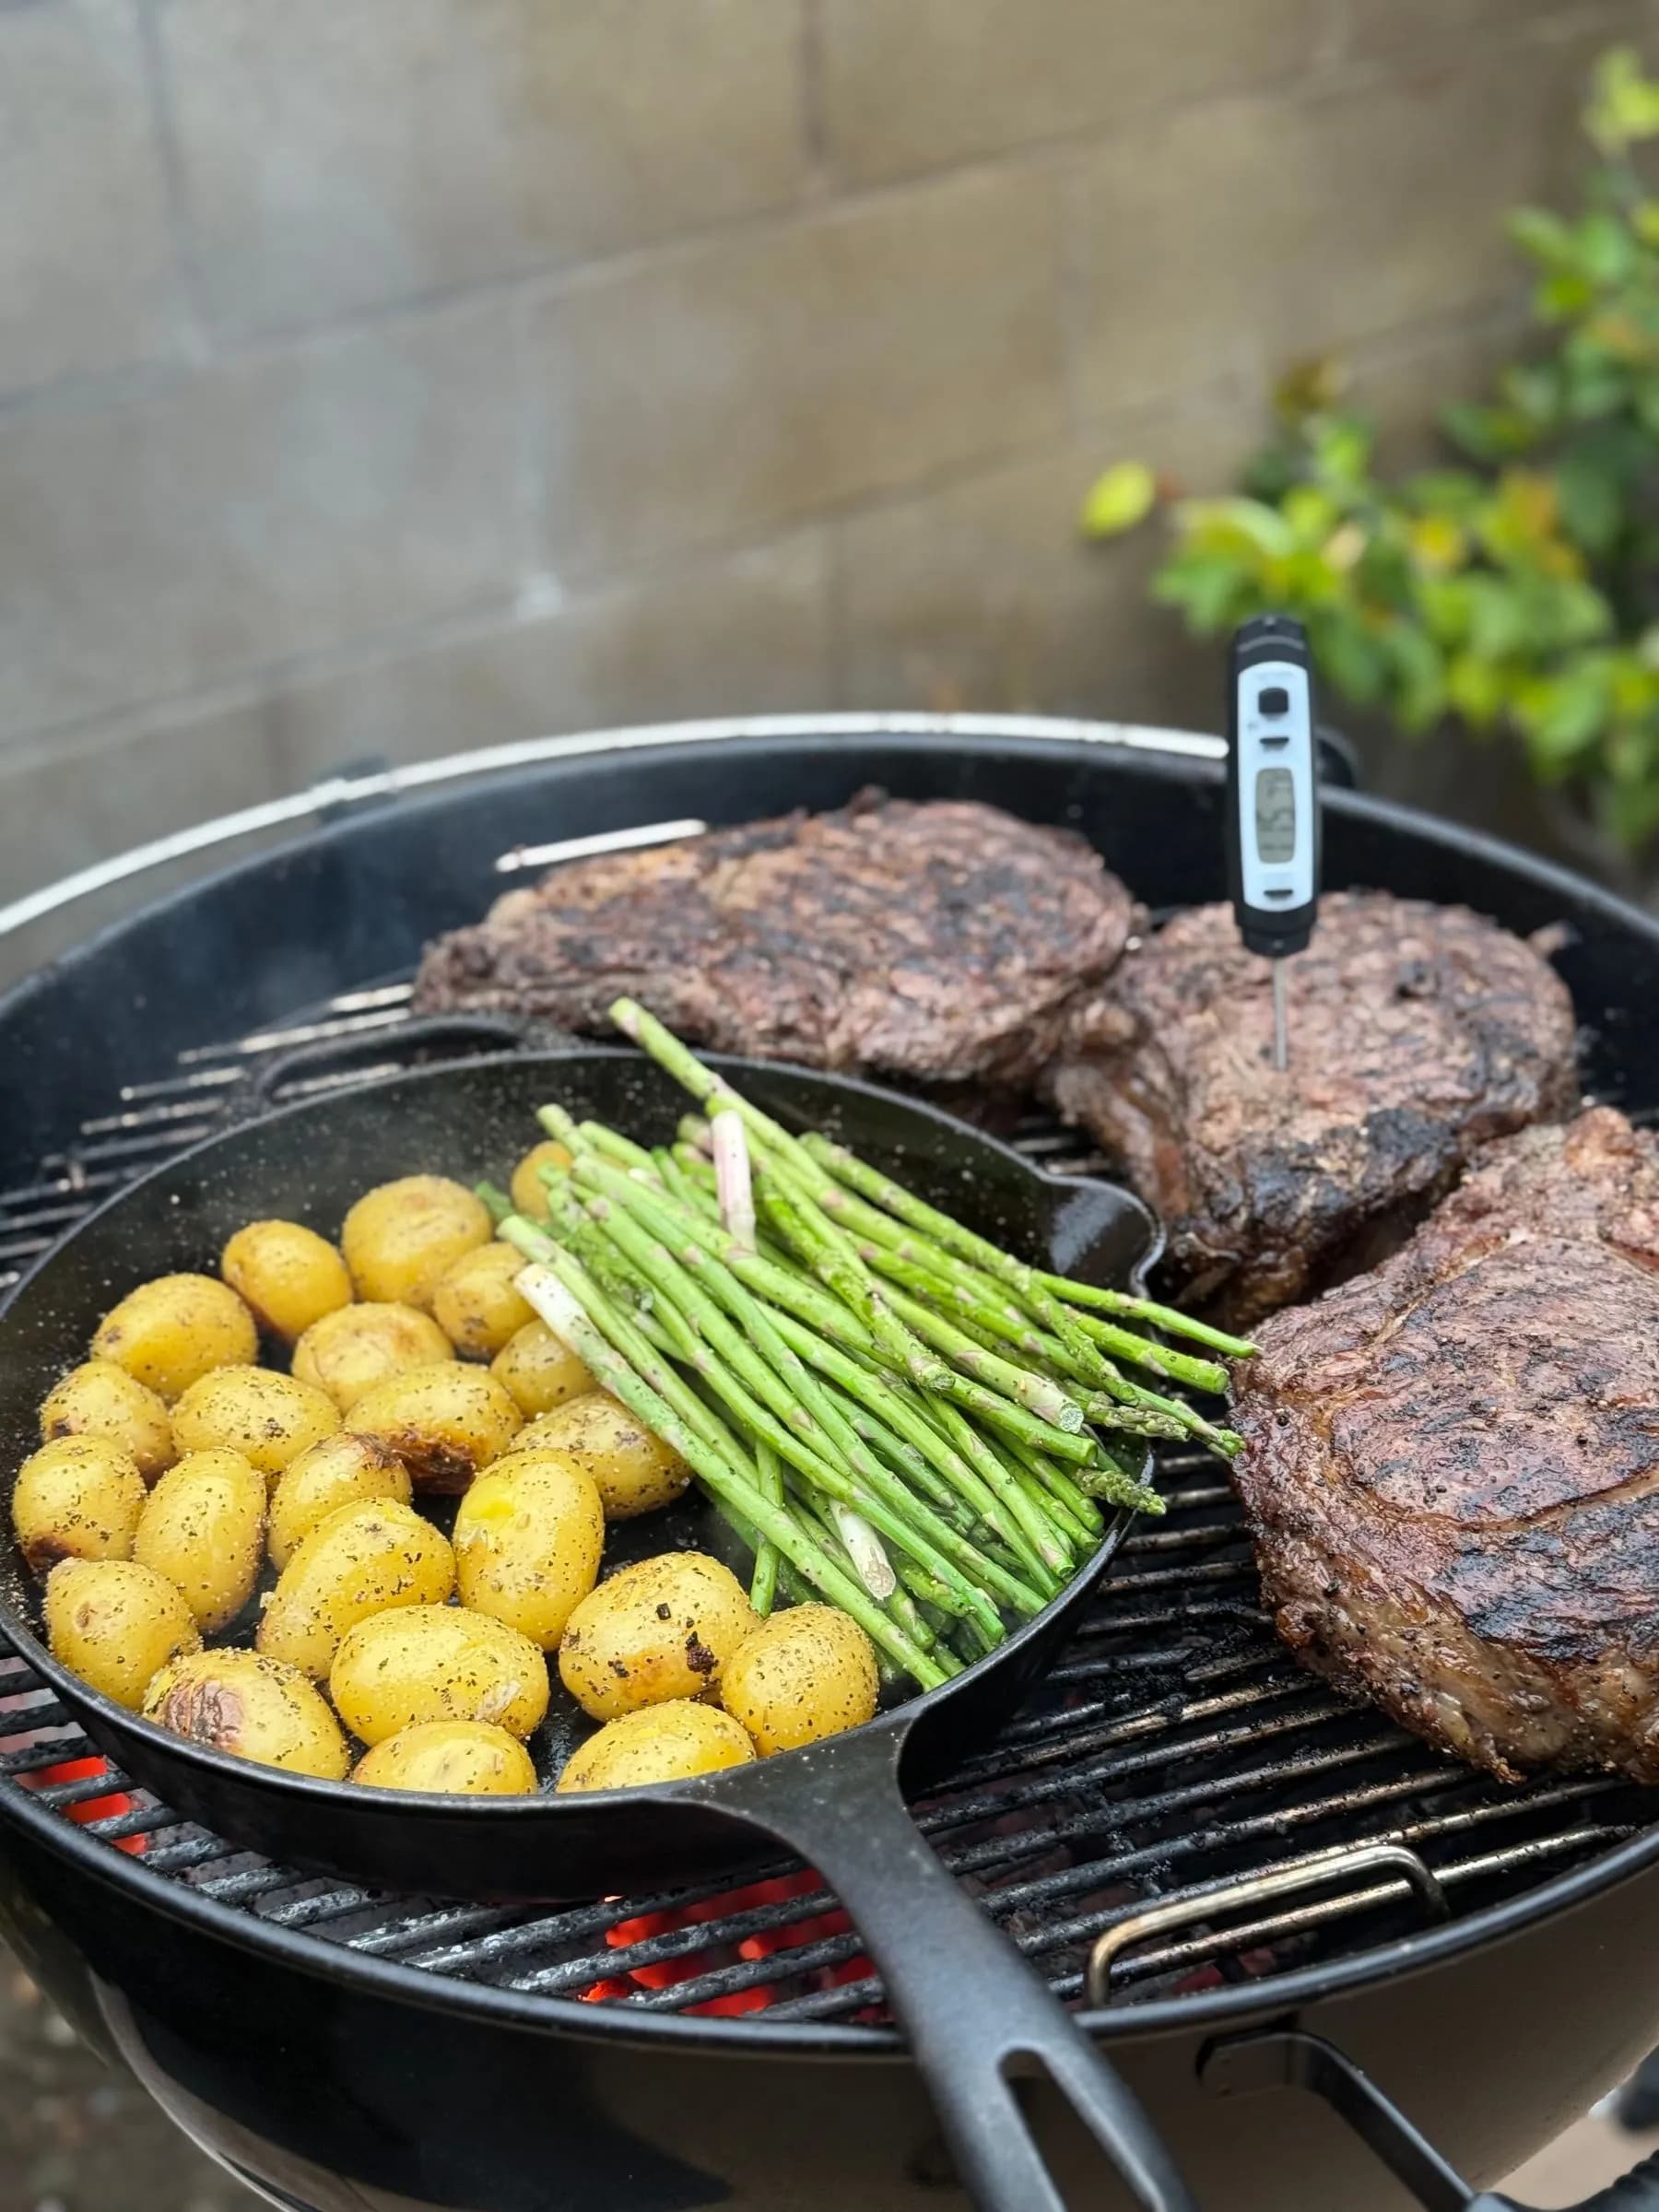
There is a scene that plays out on every terrace: the lid thermometer reads 120 °C, the brisket has been in for nine hours and, when you open up, the meat is nowhere near where it should be. The instrument was not broken. It was measuring exactly what it measures: the air up in the dome, twenty centimetres from the food and a good few degrees away from it.
A kamado is a machine for holding heat, and that very virtue is what lets several different temperatures live inside it at once. Between the dome, the grate and the centre of the meat there are three numbers, and only one of them decides when you eat. Which is why a probe is not the advanced hobbyist's indulgence: it is the instrument that turns a kamado into something repeatable. The temperature control guide explains how to govern the chamber with the vents; this one is about the hardware that tells you what is really going on in there.
Below are the three types of thermometer that exist and the problem each one solves, what to look for on the manufacturer's spec sheet before paying, where the probe goes in a brisket, a chicken, a chuletón (thick bone-in rib steak) and a fish, and how to check in your own kitchen, with a glass of crushed ice, whether yours is telling the truth.
| Type | Quoted accuracy | Probes | Max ambient quoted | Where it pays off |
|---|---|---|---|---|
| Instant-read spike | ±0.5 °C or better | 1 (the tip) | Not left inside | Chuletón, fish, chicken, vegetables |
| Wired, no connectivity | ±1 °C | 1-2 | ~300 °C | First smoke, base beside the kamado |
| Wired Bluetooth | ±1 °C | 2-4 | ~300 °C | Low & slow without leaving the garden |
| Wired wifi | ±1 °C | 4-6 | ~300 °C | A 12 h smoke followed from indoors |
| Cable-free wireless | ±0.5-1 °C | 1-2 per tip | 275-290 °C | Cuts that get turned or moved |
| Analogue lid dial | ±10-15 °C typical | 1 bimetallic | Fixed in the dome | Seeing the chamber's trend |
| Surface infrared | ±1.5% of reading | No contact | Surface only | Pizza stone, plancha, cast iron |
The lid thermometer reads the air in the dome, not your food
Behind that chromed dial sits a bimetallic coil: two metals with different rates of expansion wound into a spiral that turns a needle as it heats. It is cheap, robust and free of electronics, which is why every lid carries one. It is also imprecise. Manufacturers rarely quote a tolerance for these dials, and the ones that do sit around ±10-15 °C. Fifteen degrees of error is irrelevant grilling vegetables and devastating at hour nine of a smoke.
The underlying problem, though, is not accuracy but position. The stem reaches a few centimetres into the highest part of the dome and reads the air circulating up there, not the air around the food. In an indirect cook, hot air climbs the sides, washes over the dome and leaves through the chimney while the grate sits shielded behind the deflector: the gap between what the lid reads and what you actually have at grate height usually runs to 10-25 °C, and not always in the same direction. In low & slow the lid tends to read high; searing over live fire, the surface of the grate is far hotter than the air the dial can see.
None of which makes it an ornament. It is the only figure you can read with the lid shut without switching anything on, and it is good for what it is good for: seeing the trend. If the needle is climbing slowly, the chamber is climbing; if it has been parked in the same spot for twenty minutes, you have found your vent balance. That trend reading is exactly what you use to work the dual airflow.
What you cannot do is cook by it. The two figures that decide are different ones: the ambient temperature at grate height, which a chamber probe clipped to the grill measures, and the temperature at the centre of the meat, which a probe pushed into it measures. Everything else is context.
The three types of thermometer and the problem each one solves
The instant-read spike is a very fine probe with the sensor housed in the last few millimetres. It does not stay inside: you push it in, read in two to four seconds and pull it out. The good ones quote ±0.5 °C or better, and that accuracy matters precisely where the margin is narrow: a chuletón goes from red to pale pink in three degrees, a fish loin in two. It is the tool you will reach for most often across the year, and a benchmark instant-read such as the Lavatools Javelin PRO Duo covers most of what a domestic kamado cooks without pairing anything to your phone.
The wired leave-in probe is the instrument for long cooks. It stays inside with the lid shut and sends its reading out along a thin cable to a base unit that alerts you when the target arrives. What matters is not the gadget but the fact that almost all of them ship with at least two probes: one goes into the meat, the other clips to the grate. That second one, the chamber probe, is what genuinely replaces the thermometer on the lid.
The cable-free wireless probe is a cylinder of ceramic and steel that goes into the meat whole. It carries two sensors: one at the tip, reading the centre of the cut, and one at the tail end, reading the air around it. No cable crosses the gasket and you can turn the meat without untangling anything, which is precisely the problem it was built to solve.
And there is a fourth device sold on the same shelf that does not measure the same thing: the infrared gun. It reads the temperature of a surface from a distance, without contact. It is perfect for knowing how hot the pizza stone or a cast-iron plancha is, and completely useless for knowing whether a chicken is done, because it sees through nothing.
The spec sheet: accuracy, number of probes and maximum ambient temperature
Quoted accuracy is the figure everyone looks at and the one that decides least. Between ±0.5 °C and ±1 °C there is little practical difference on a brisket that will spend ten hours inside and that you are going to pull by feel as much as by number. Where it does show is on short, expensive cuts: fish, solomillo (fillet), magret. Look at response time too, because a tip that takes fifteen seconds to settle forces you to hold the lid open for fifteen seconds, and in ceramic you pay for that.
The number of probes is the most practical decision. Two is the functional minimum, because one of them has to go to the chamber. Four start to make sense when you put two cuts in at once, or when you watch a rack of ribs at both ends. And a question almost nobody asks before paying: whether the manufacturer sells replacement probes separately. The probe is the consumable in the system; if the only thing on sale is the complete pack, you have bought a disposable device.
Maximum ambient temperature is the figure that saves the most grief, and it is worth reading closely, because many spec sheets give two different numbers: one for the probe and one for the cable. The lower one rules. Wired probes in everyday use quote something like 300 °C; wireless ones, between 275 and 290 °C ambient. Translated: neither of them stays inside while you bake a pizza at 380 °C, nor while you sear with the vents wide open. They come out first.
The rest are details you will be grateful for six months in. That the base unit has a screen of its own and does not depend on the app alone, because a router going down should not leave you without an alarm. That alarms can be set per probe. That the body survives a splash. And that the probe is wiped with a damp cloth without wetting the connector: submerging the cable is the number-one cause of dead probes.
Wireless or wired: real range with ceramic in the way
The ranges printed on the box — ten metres for class 2 Bluetooth, fifty or a hundred metres on models with a repeater — are measured in open ground with no obstacles. That is the small print that changes everything, because between your probe and your phone sits the worst thing you can put in front of a 2.4 GHz signal.
Inside a closed ceramic the direct link between probe and phone struggles, and it is not the device's fault: the wall of a kamado is two or three centimetres of dense ceramic, with steel bands around it and a metal lid on top. It is a cage. Which is why wireless systems include a repeater block that has to stay plugged in and reasonably close — a few metres away, and better with one window in between than two partition walls — and why real usable range bears little resemblance to the spec sheet. Models that also go up to the cloud, like the MEATER Pro 2 Plus, solve long range but move the dependency to your router: if the wifi drops, the alarm drops with it.
Wired systems do not have that problem because the probe transmits nothing. The cable carries the signal out, and the base unit, sitting a metre from the kamado in open air, does have a clean line to you or to the router. An Inkbird IBBQ-4T with four probes lets you follow the brisket from indoors for the same reason any smart plug works. The toll is physical: a cable crossing the gasket every time you cook.
On battery life there is no real contest either. Wireless spec sheets quote something like 24 hours per charge, ample for a smoke as long as you start with the probe full; a base unit on alkaline batteries lasts months. If you cook for twelve or fourteen hours, charging the probe the night before stops being fussiness and becomes part of the plan.
Where the probe goes: brisket, chicken, chuletón and fish
The principle is always the same, and it explains nearly every mistake: the sensor is not spread along the probe, it sits in the last three to five millimetres of the tip. You are looking for the geometric centre of the thickest part, which is the point that cooks last. Go in from the side and horizontally: that way the body of the probe stays inside the meat instead of exposed to hot air, and you can pull back a centimetre hunting for the lowest reading, which is the true one. Three things falsify the measurement: bone, which conducts and reads high; seams of fat, which read low; and pockets of air.
In a brisket, the probe goes into the thickest part of the flat, entering from the side at mid-height, never into the fat seam that separates flat and point, nor into the point itself, which always runs ahead. And a warning that saves disappointment: the final number matters less than feel. The probe has to slide in like butter; if at 96 °C it still meets resistance, the meat is asking for more time.
In a whole chicken or a turkey, the thickest part of the thigh, from the outside and aimed at the centre, dodging the femur, just behind it. The breast is measured separately, from the side and parallel to the board. Two readings, because they are two different targets, and the breakdown by cut is in the temperatures and times cheat-sheet.
In a chuletón or a tomahawk it goes in through the edge, horizontally, to the centre, well clear of the bone and the outer fat; on a reverse sear it stays in through the low phase and comes out before searing. And the honest limit: in a large whole fish you measure alongside the backbone, in the thickest part of the loin, but in a sardine, a gambón (large prawn) or a thin fillet there is nowhere to house five millimetres of sensor. There, eye and clock rule.
Calibrating at home: the ice test and the boiling water test
The ice test is the more reliable of the two and the one to do first. Fill a glass to the brim with crushed ice, top it up with cold water until the ice is covered, stir and leave it two or three minutes to settle. Put the tip into the middle of the ice, without touching the bottom or the sides, and stir gently. It has to read 0 °C within whatever margin the spec sheet quotes, and the beauty of the method is that this zero depends neither on altitude nor on the weather.
The boiling water test checks the other end, and there geography does rule. Water boils at 100 °C at sea level and loses one degree for every 300 metres of altitude: in Torrevieja, down at beach level, the target is 100 °C; in Madrid, at 667 metres, about 97.8 °C. Get it to a rolling boil, put the tip into the middle of the pan without touching the bottom — the metal is hotter than the water — and keep the handle and the electronics out of the steam.
With the deviation in hand there are three routes. Many digital instant-reads have an adjustment or factory-reset function described in the manual. The ones that do not are used just the same, by noting the error on a label stuck to the handle: one that always reads 1.5 °C high is perfectly usable, because a known error stops being an error. And the bimetallic dial on the lid can almost always be corrected by turning the nut behind the face with a spanner, with the stem sitting in the boiling water.
How often: when it is new, after any knock or fall, at the start of the season, and before a long cook where you will have no chance to correct course. And one sign of death: if the reading wanders when you move the cable, or takes time to settle where it used to be instant, the probe is finished and no calibration will save it.
Which thermometer pays off for the way you cook (and when the expensive one is unnecessary)
There are four profiles, and almost everyone is in one of them. If your kamado mostly sees live fire — chuletón, fish, vegetables, burgers, pizza — the instant-read spike is not the first step: it is the only one you need. Those cooks last between six minutes and an hour, you are standing right there, and a leave-in probe with an alarm gives you nothing that opening the lid and spiking the meat does not. Climbing to the premium tier here gives nothing back.
If you are starting out and know you will smoke something now and then, the right set is an instant-read plus a two-probe wired kit with a base unit that has a screen. One to the chamber, one to the meat, and the number governing the cook stops being the one on the lid. It is the biggest jump in results a single accessory can deliver, which is why the probe appears among the essential accessories from day one.
If low & slow is your ground — racks of ribs, brisket, paletillas (pork shoulders), turkeys — and you leave the house while the kamado works, then it does pay to move up to four probes with wifi. Not for accuracy, which is the same, but for the number of points you are watching and for being able to look at the curve from work. Logistics justify the jump, not thermometry.
And if the cable gets in your way, if you turn cuts, if you cook in a cocotte or if you are in the habit of moving meat between zones, the cable-free wireless probe solves a real problem rather than a whim. It is only worth remembering what it does not do: it does not stay inside above its ambient limit, each cut needs its own tip, and all of it depends on a charged battery. The sensible order, if you are not buying everything at once, is instant-read first, leave-in later. Plenty of people do it the other way round and end up with a handsome gadget and no way to check a chuletón.
To sum up what matters: the thermometer on the lid is there to show you the chamber's trend and little else, because it measures the air in the dome with a bimetallic coil that moves within ten or fifteen degrees. The two figures that decide when you eat are the temperature at grate height and the temperature at the centre of the meat, and for those you need a chamber probe and a probe in the meat, or an instant-read if the cook is short.
The rest are honest caveats. No probe stays inside above the 275-300 °C its own spec sheet quotes. Advertised range is measured in open ground, not with two centimetres of ceramic in the way. And an uncalibrated thermometer is an opinion: ten minutes with a glass of crushed ice are worth more than any step up in range.
Gear featured in this guide
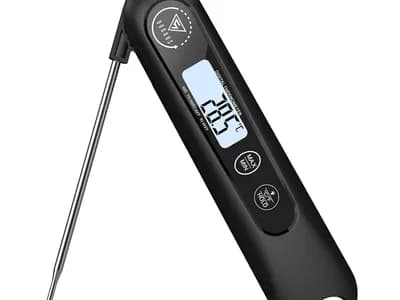
DOQAUS instant-read thermometer, folding probe, 3-second read
€7
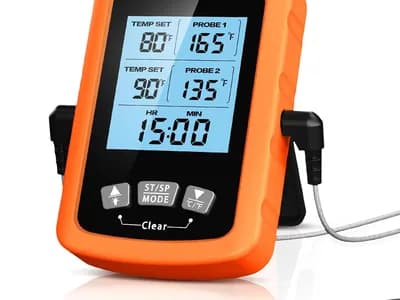
CIRYCASE Dual-Probe Thermometer, 16.3 cm Probes and Timer
€19
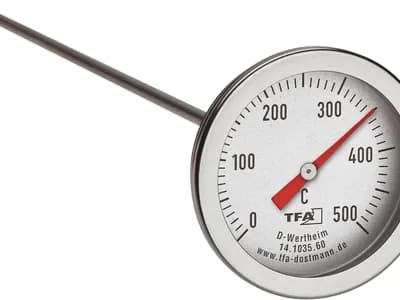
TFA Dostmann 14.1035.60 analogue thermometer, 30 cm stem
€12
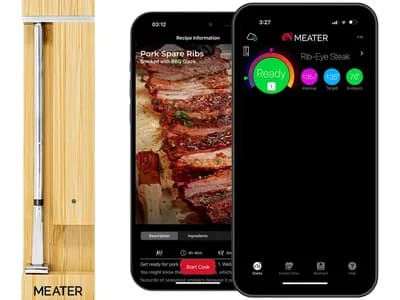
MEATER Pro / 2 Plus Wireless Meat Thermometer
€148
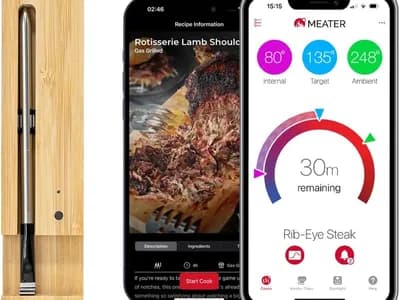
MEATER+ wireless WiFi thermometer
€99
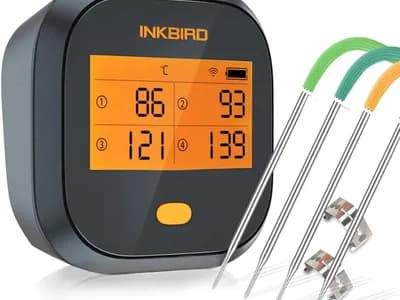
Inkbird IBBQ-4T WiFi Thermometer with 4 Probes
€23
Recipes to get started
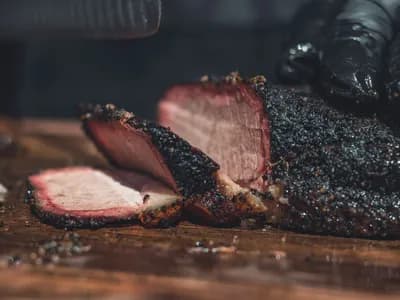
Low-and-slow smoked brisket
The kamado acid test. Ten hours at 110°C, a deep bark, a pink smoke ring and a texture that gives way under the weight of a fork.
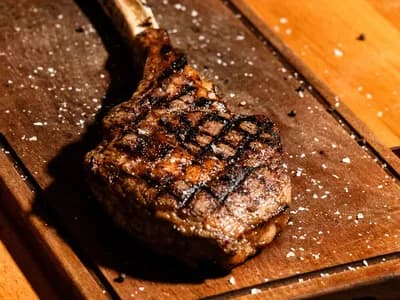
Reverse-sear tomahawk on the kamado
A 1.4 kg tomahawk, probe in the centre, ceramic at 110°C and a 90-second final sear. The Sunday centrepiece for when you want to impress without gambling on doneness.
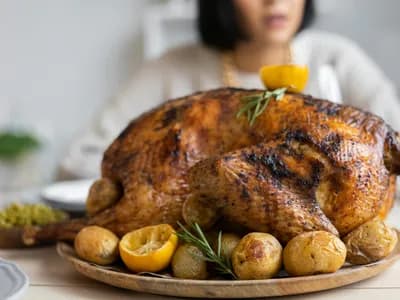
Smoked Christmas turkey on the kamado
The recipe that retires the family oven on December 25th: 12-hour brine, butter under the skin, apple wood smoke and a whole turkey at 120 °C — tender inside, deep gold outside, properly smoked.
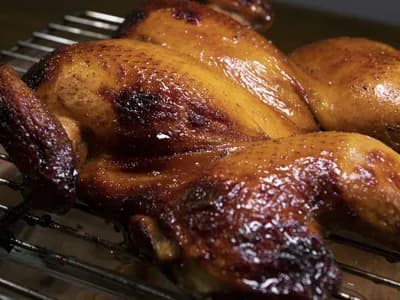
Whole spatchcock chicken on the kamado, even crispy skin
A 1.6 kg chicken butterflied flat, roasted at 180°C indirect over a deflector. Golden crackling skin end to end, juicy meat, ready in an hour: the Sunday roast I actually cook on my Torrevieja terrace.
GO DEEPER
Continue with these
- Related guide
Kamado cooking temperatures and times: a cheat-sheet by cut
The four heat zones, the technique-to-temperature table and the cut-to-internal-temp-to-time cheat-sheet. Why the probe beats the clock, every time.
- Related guide
Kamado Temperature Control: The Pitmaster's Guide
The dual airflow system, the rookie mistake of overshooting, and why the dome thermometer lies. This is the skill that separates a beginner from a pitmaster.
- Related guide
5 essential accessories to get started with your kamado
Heat deflector, probe, lighter, cover and cast iron: what truly earns its price on day one, and what is just hot air.
- Recipe to practice
Low-and-slow smoked brisket
The kamado acid test. Ten hours at 110°C, a deep bark, a pink smoke ring and a texture that gives way under the weight of a fork.
- Recipe to practice
Reverse-sear tomahawk on the kamado
A 1.4 kg tomahawk, probe in the centre, ceramic at 110°C and a 90-second final sear. The Sunday centrepiece for when you want to impress without gambling on doneness.
- Recipe to practice
Smoked Christmas turkey on the kamado
The recipe that retires the family oven on December 25th: 12-hour brine, butter under the skin, apple wood smoke and a whole turkey at 120 °C — tender inside, deep gold outside, properly smoked.
- Editorial comparison
big green egg large vs kamado joe classic iii
The classic kamado matchup: the Big Green Egg Large, the indestructible pioneer with the widest accessory network, again
- Glossary term
Heat deflector
Ceramic plate placed between the coals and the grate to turn direct fire into indirect cooking.
- Glossary term
Gasket
Fibre band that seals the join between the ceramic base and lid, ensuring the kamado is airtight.
- Glossary term
Pizza stone
Refractory cordierite or ceramic disc that stores heat and cooks a pizza base by direct contact.
Frequently asked questions
Is the lid thermometer that comes with the kamado reliable?
As a guide to the trend, yes; as a number to cook by, no. It is a bimetallic coil reading the air at the top of the dome, far from the food, and its deviation moves within ten or fifteen degrees. With the deflector in, the gap against what you have at grate height is usually between 10 and 25 °C. Calibrate it in boiling water, note down its error and use it to see whether the chamber is climbing, falling or holding steady.
Will an infrared thermometer tell me whether the meat is done?
No. An infrared reads the temperature of a surface from a distance and sees through nothing, so it will tell you how hot the bark on a brisket is while the centre is still raw. Where it is the right tool is the pizza stone, the plancha and cast iron, where the surface is precisely what matters. To know whether a cut is at its point, something has to go inside it.
Can I leave the probe in with the kamado at 350 °C?
No, and it is the mistake that kills the most probes. Wired probe spec sheets quote something like 300 °C maximum ambient, and wireless ones between 275 and 290 °C; many sheets also give a different figure for the cable, and the lower one always rules. A pizza at 380 °C or a sear with the vents open clears that limit comfortably. For those cooks, instant-read spike and the probe left out.
Where do I run the probe cable out without ruining the gasket?
Out the front, between lid and base, using the flat section of the cable and not letting it be pinched in the same spot every time, which is what eventually wears the felt of the gasket. Never through the chimney: that is the exhaust, and the hottest point on the route. Some kamados come with a probe port of their own in the ceramic; if yours does not, you do not drill one.
How often does the thermometer need calibrating?
When it is new, at the start of the season, after any fall and before a long cook where you will not be able to correct course. The ice test takes five minutes and is the more reliable one, because the zero of ice does not depend on altitude. If the device always deviates by the same amount, use it with that correction noted down; if the reading wanders or takes time to settle, the probe is spent.
How many probes do I really need?
Two is the functional minimum: one clipped to the grate, measuring the air where the food is, and one pushed into the meat. With those two you can cook anything. Four make sense if you put two cuts in at once, or if you watch a rack of ribs at both ends. Before paying, check that the manufacturer sells probes separately: it is the part that fails, and with no spares the whole device is disposable.